Im Maileon Help-Center finden Sie umfassende Dokumentationen zu unserem System.
Beliebte Suchanfragen: Importe | Rest-API | Integrationen | SMS
Trigger Mailings FAQ
Frequently Asked Questions about Trigger Mailings
1. How do I stop my already active Trigger Mailing?
If a Trigger Mailing is no longer needed, you can stop it in two ways (fig. 1):
- by by clicking the slide-switch on the left side: This action pauses the trigger mailing. It stays in the Active Triggers overview and can be reactivated anytime by clicking again on the switch.
- by clicking the red icon on the far right: This action moves the trigger mailing to the Trigger Mailings > Trigger History folder, where it remains listed until you delete it permanently (see Trigger Mailings > Trigger History).

Fig. 1: Trigger mailings can be paused with the switch on the left or stopped using the red icon on the far right.
2. How can I assign a distribution list?
In the workflow for Trigger Mailings, it is not possible to assign a distribution list, as these emailings are usually sent individually for a specific contact event or are sent collectively continuously.
The distribution list is therefore determined in advance, as Trigger Mailings are usually triggered by a specific contact filter affiliation. Changes to the content are not possible in the Active Trigger Mailings menu. Such changes would distort the reporting results because some of the recipients would receive different content than the remaining recipients.
3. How can I replace the image in an active trigger?
Go to Mailings > Active Triggers and make a copy of the active trigger mailing you desire to replace or adjust (fig. 2).
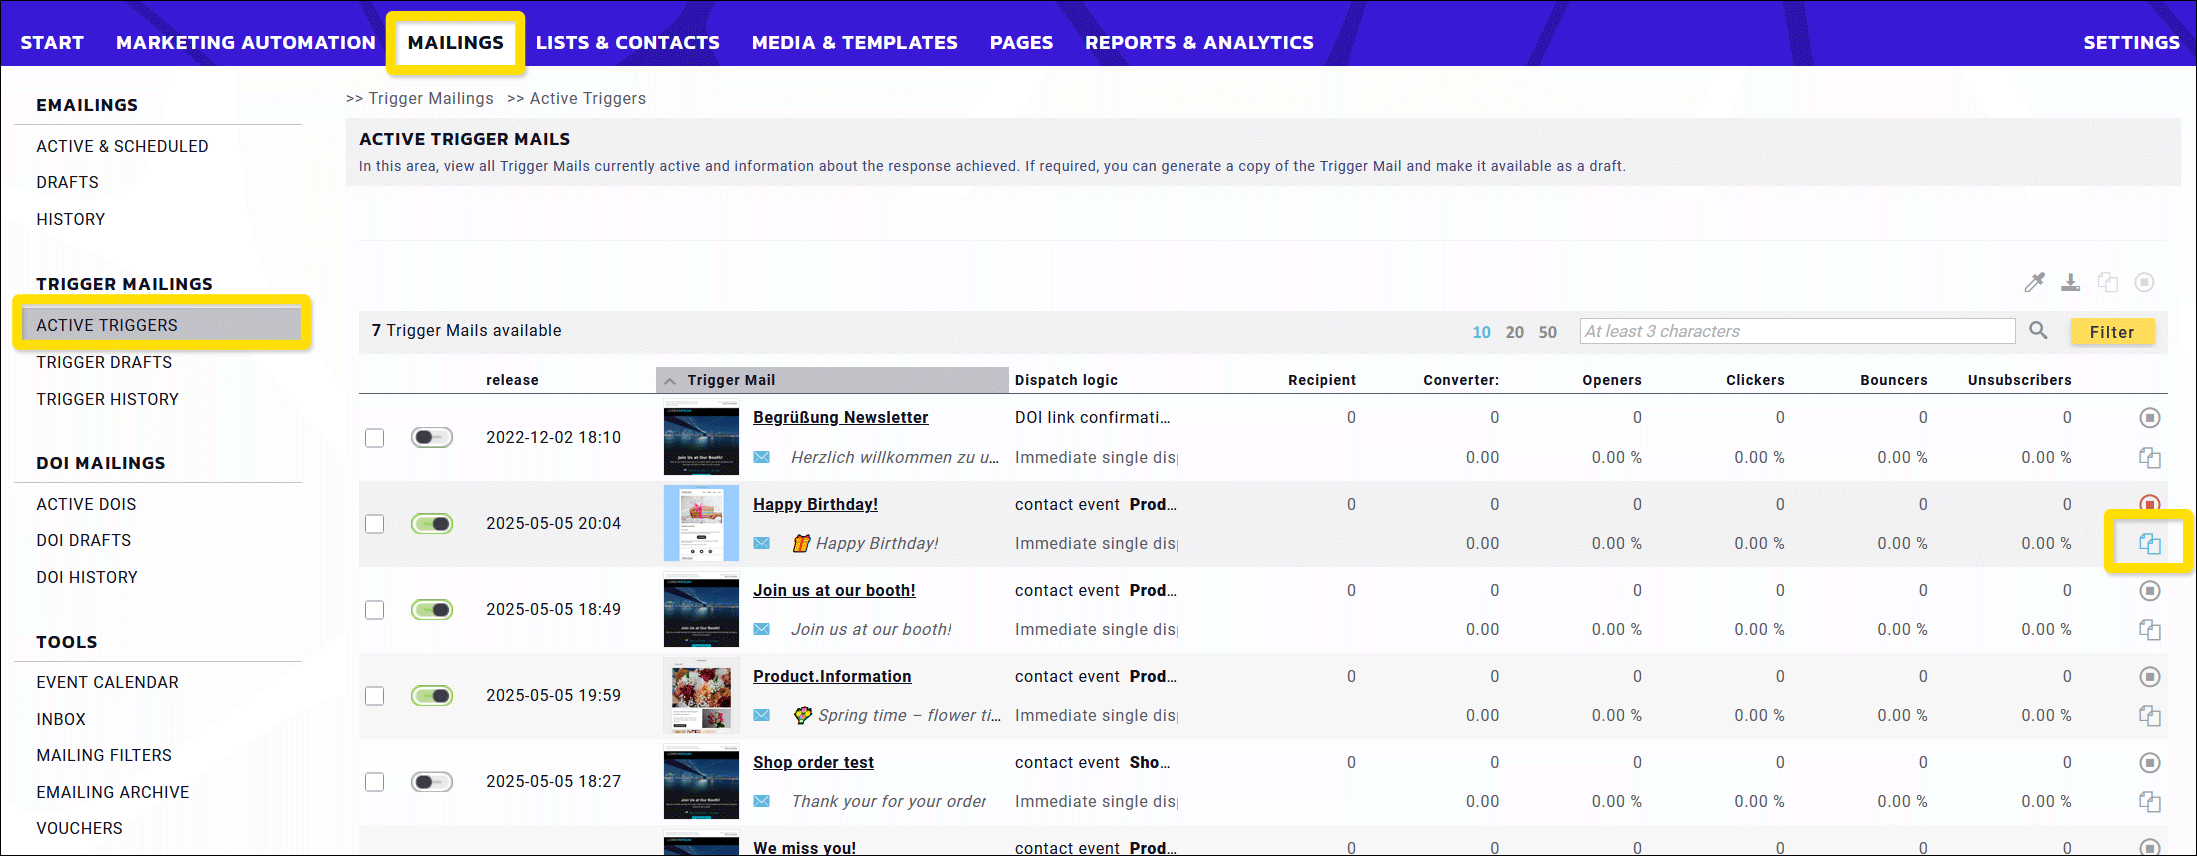
Fig. 2: Create a copy of the active trigger mailing you want to edit.
Your copy has been added to Trigger Drafts (fig. 3). Click on the name of the draft to start editing.
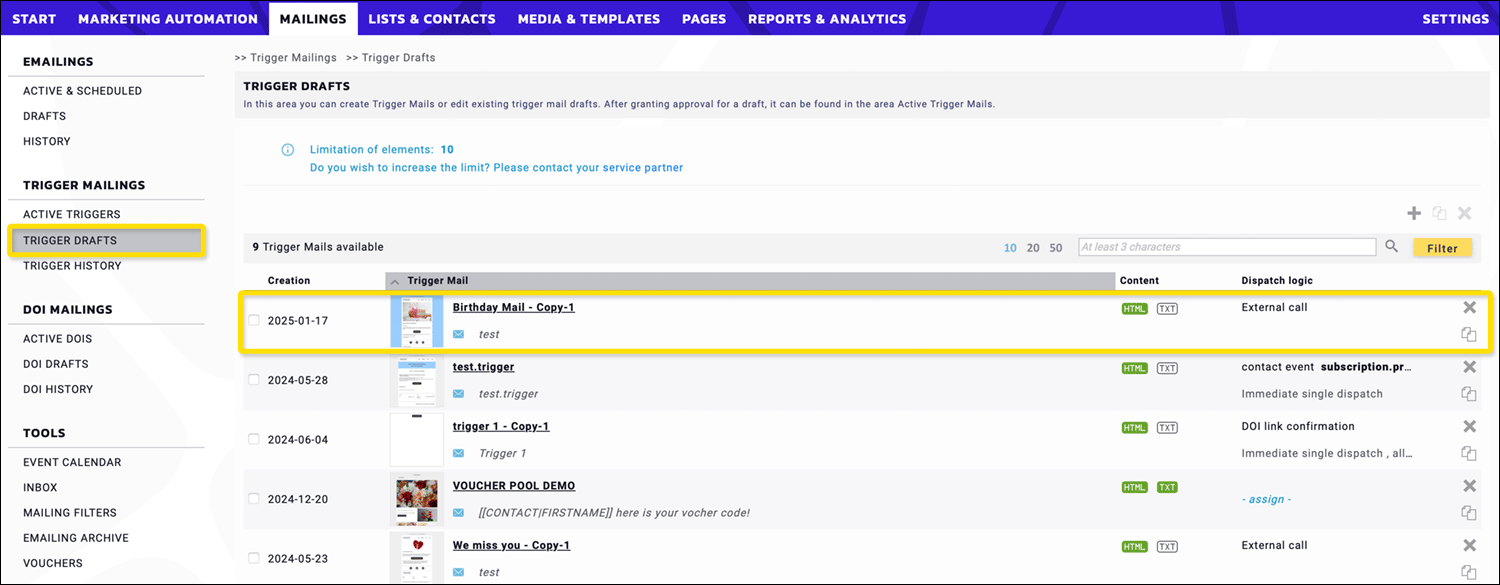 Fig. 3: Copy placement in the Trigger Drafts section.
Basic settings, such as the name of the emailing, can be adjusted in the first option (fig. 4).
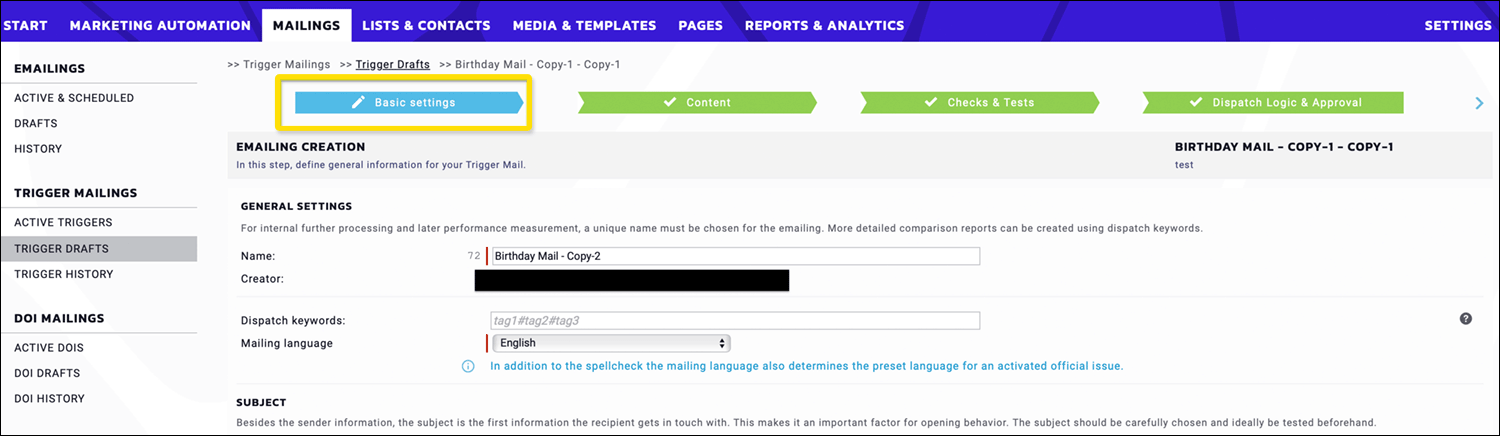 Fig. 4: Renaming of the new trigger version.
To adjust the Content, select the second option (fig. 5).
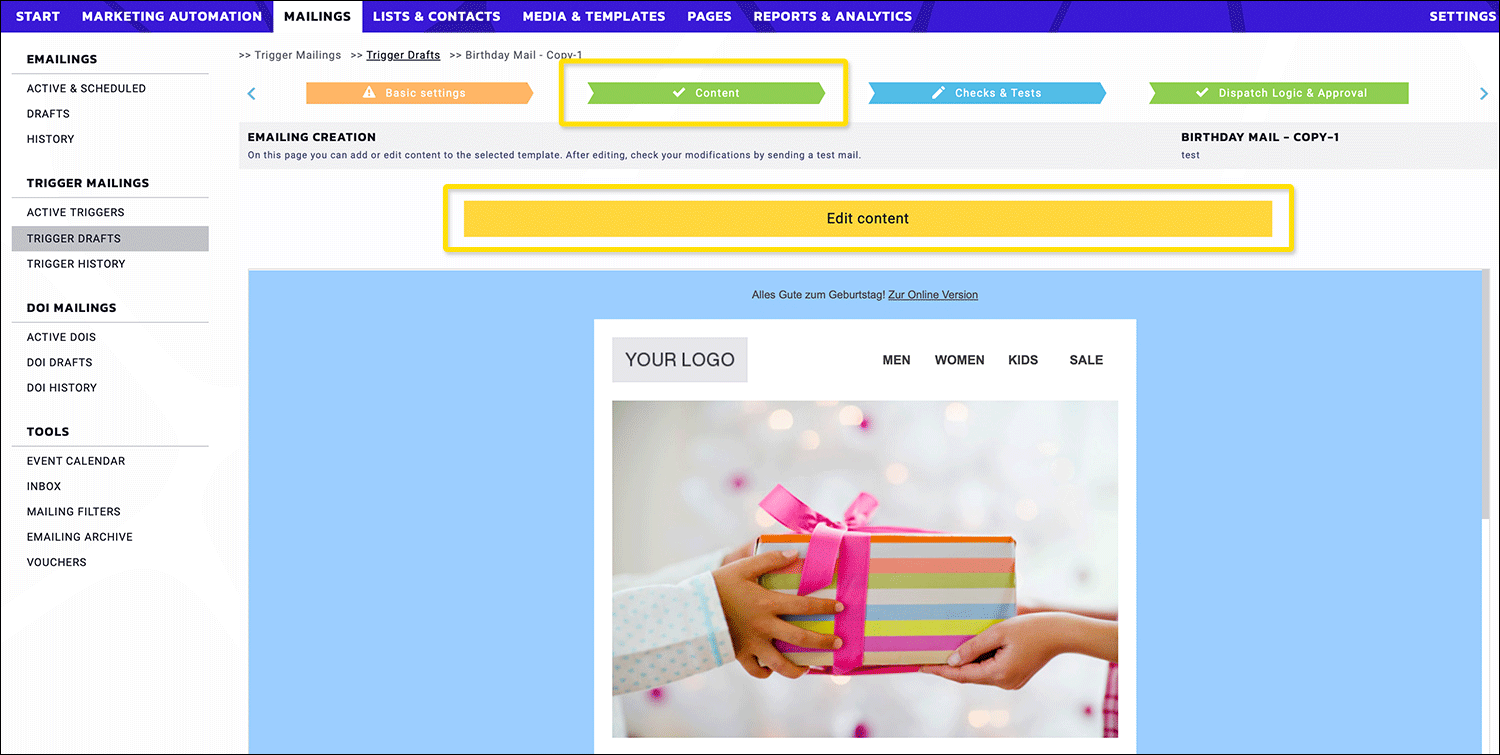 Fig. 5: Modify the content by selecting the second option.
Select the element you desire to adjust – in this example, the image – and click the Pick image from library icon or use the other options to edit or upload a new one using drag and drop (fig. 6).
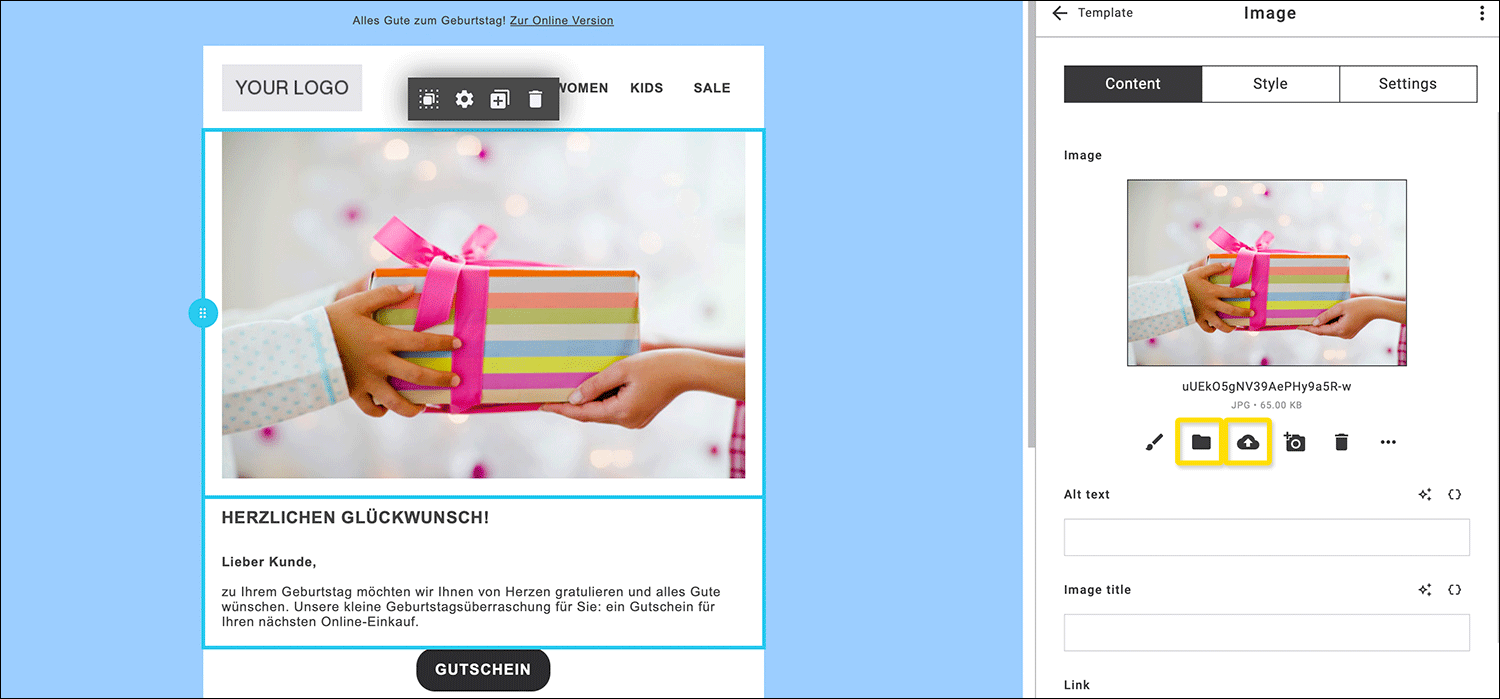 Fig. 6: Selection of the element to adjust (e.g., image) and the corresponding editing method.
Select the desired image from the Media library and click Select element (fig. 7).
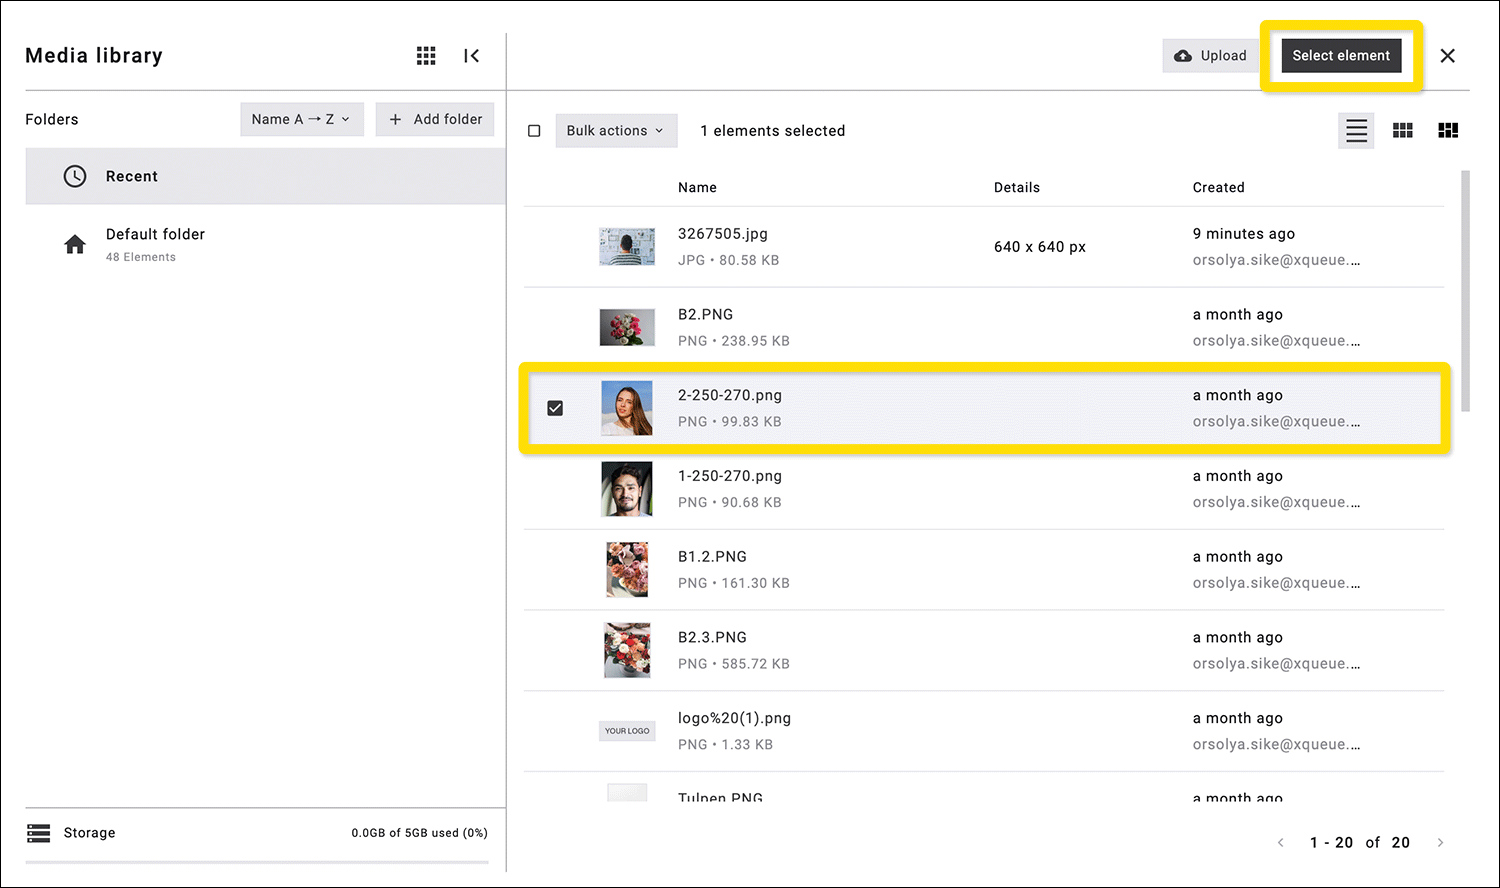 Fig. 7: Element selection from the Media library.
After the replacement Save and Close this section (fig. 8).
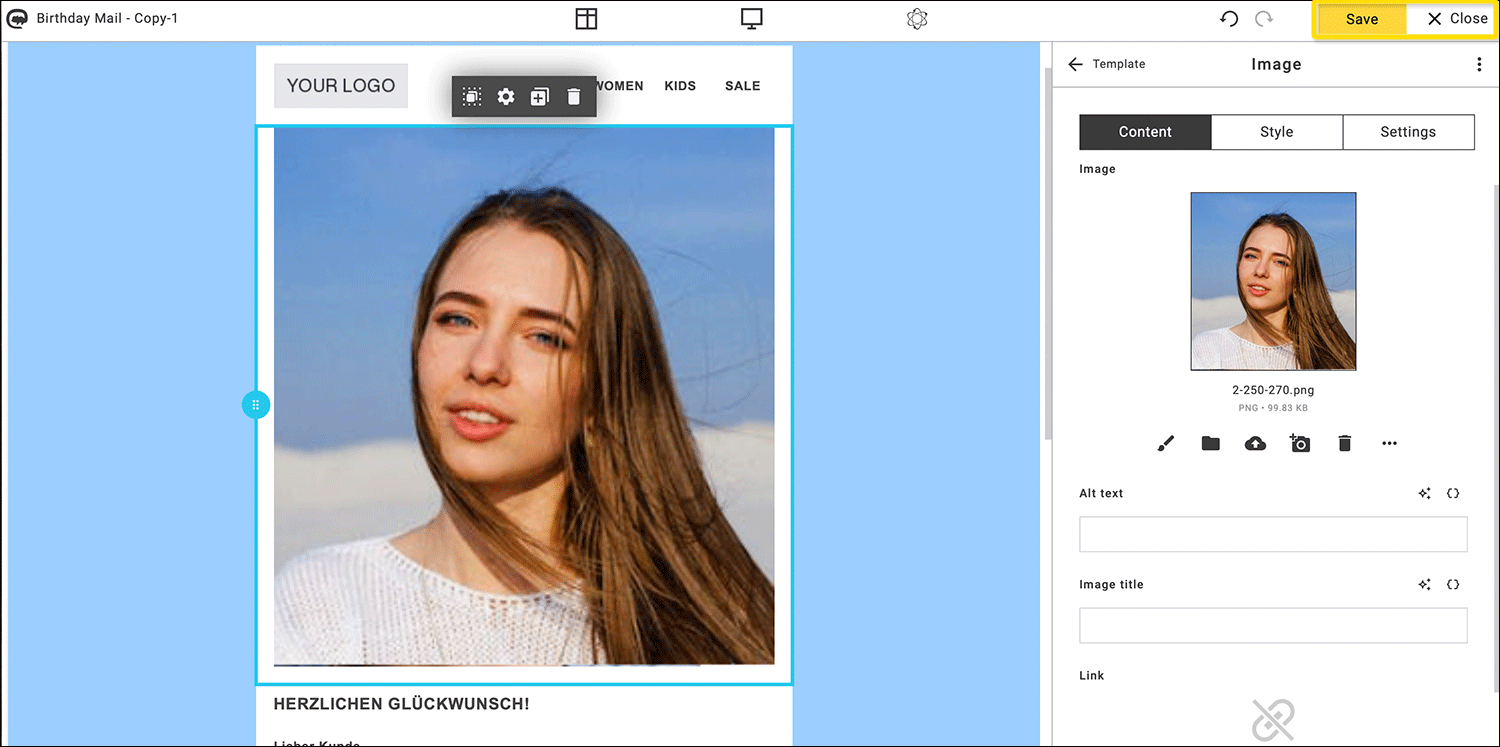 Fig. 8: Save and close after replacing the elements.
Select Dispatch Logic & Approval at the end of editing (fig. 9).
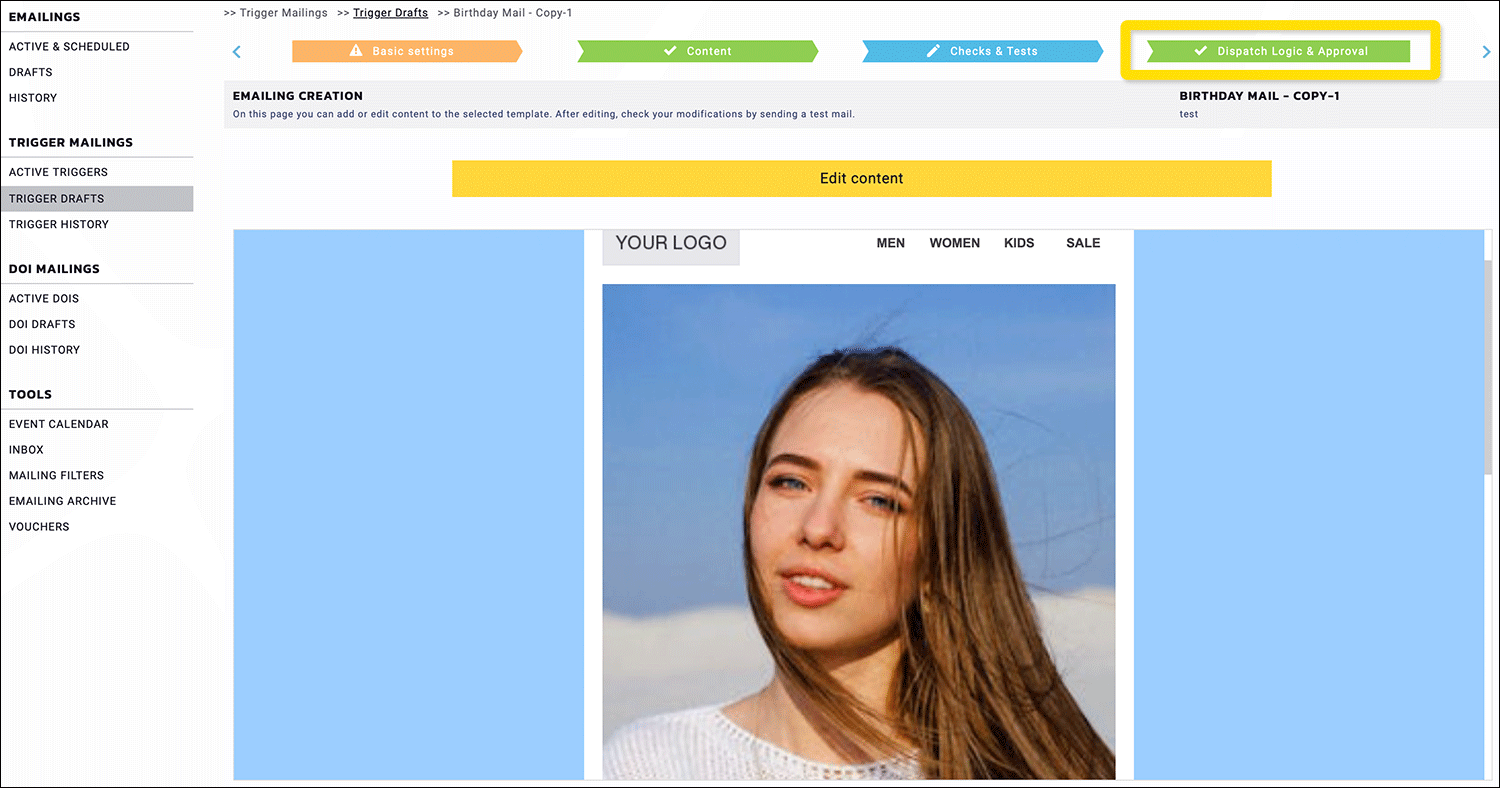 Fig. 9: Selection of Dispatch Logic & Approval.
Select activate Trigger Mailing in the bottom right corner at the end of the process (fig. 10).
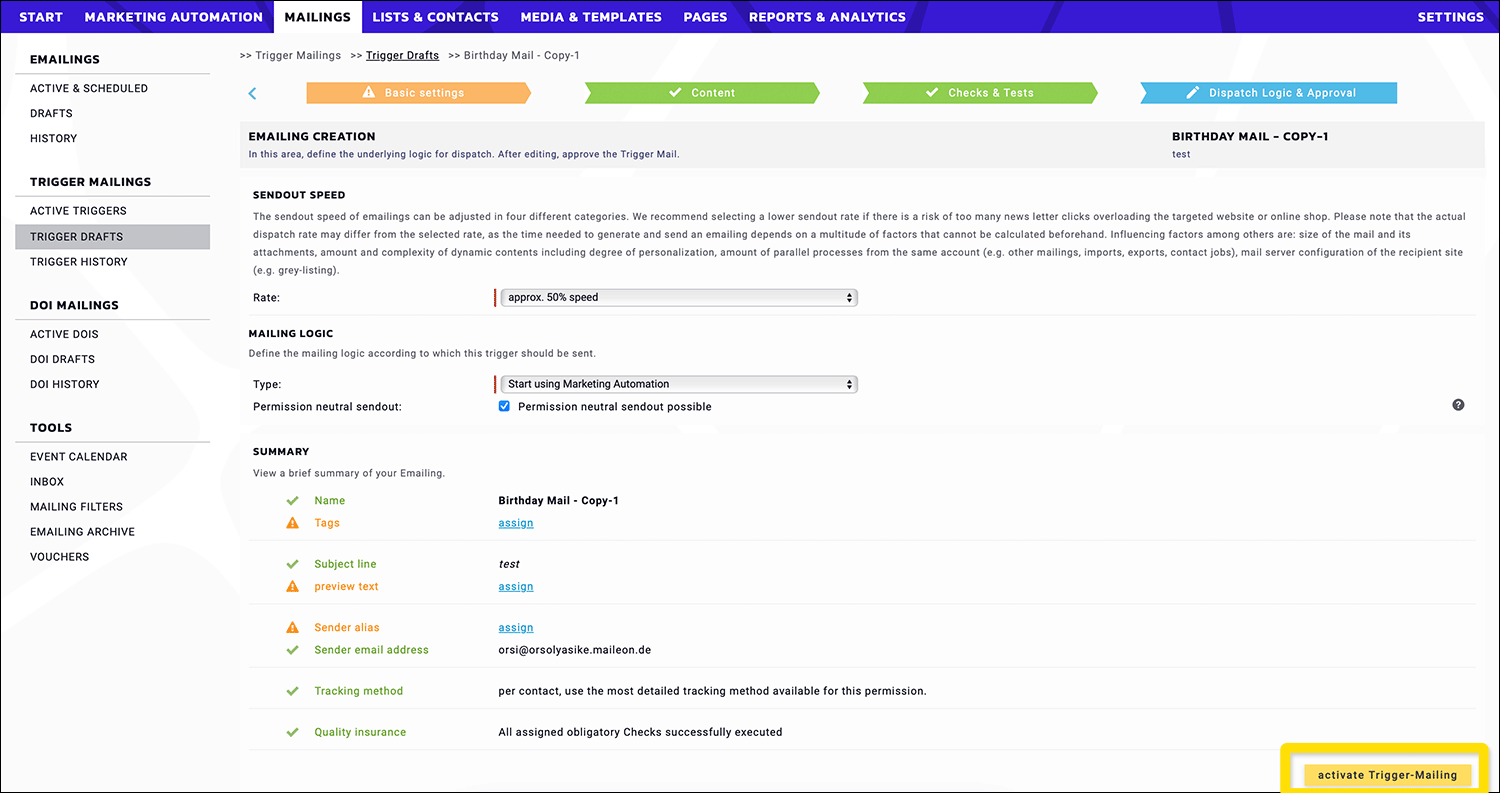 Fig. 10: Completion of the process.
After activating the updated version, it will land at Active Triggers (fig. 11).
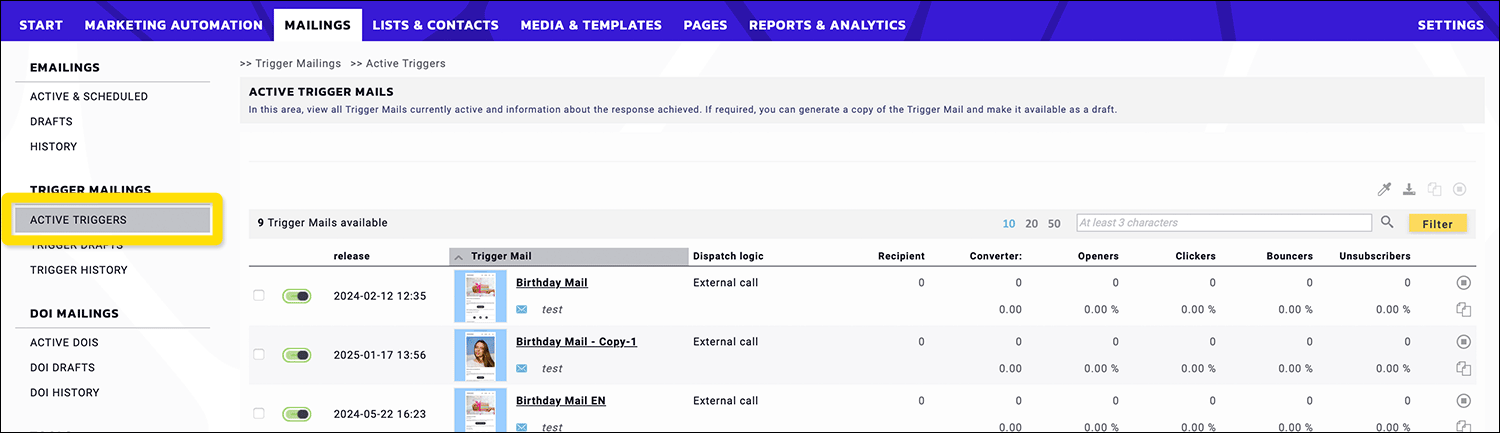 Fig. 11: Listing of the mailing in Active Triggers.
At this point stop the previous trigger mailing, which will land in Trigger History with this step (fig. 12).
 Fig. 12: Stopped trigger mailings are listed in the Trigger History.
4. How can I adjust the links in an active trigger mailing?
Click on an active trigger mailing to start the process (fig. 13).
 Fig. 13: Link editing is done by selecting an active trigger mailing.
Click on the spanner (wrench) icon to edit (fig. 14).
 Fig. 14: Editing starts via the wrench icon.
Another pop-up opens with an area, which allows the adjustment of images and links in active, paused or historical emailings. The editable elements are optically highlighted in the visual representation and can be edited with a click. For technical reasons, only images delivered by system´s servers can be edited. For the same reasons, only trackable, non-personalised links can be edited.
Note: Due to caching measures, a change can take up to a few minutes to take effect. To display the latest status of changed images in this window, the browser cache should be cleared.
Click the spanner icon on the right again to adjust the links (fig. 15).
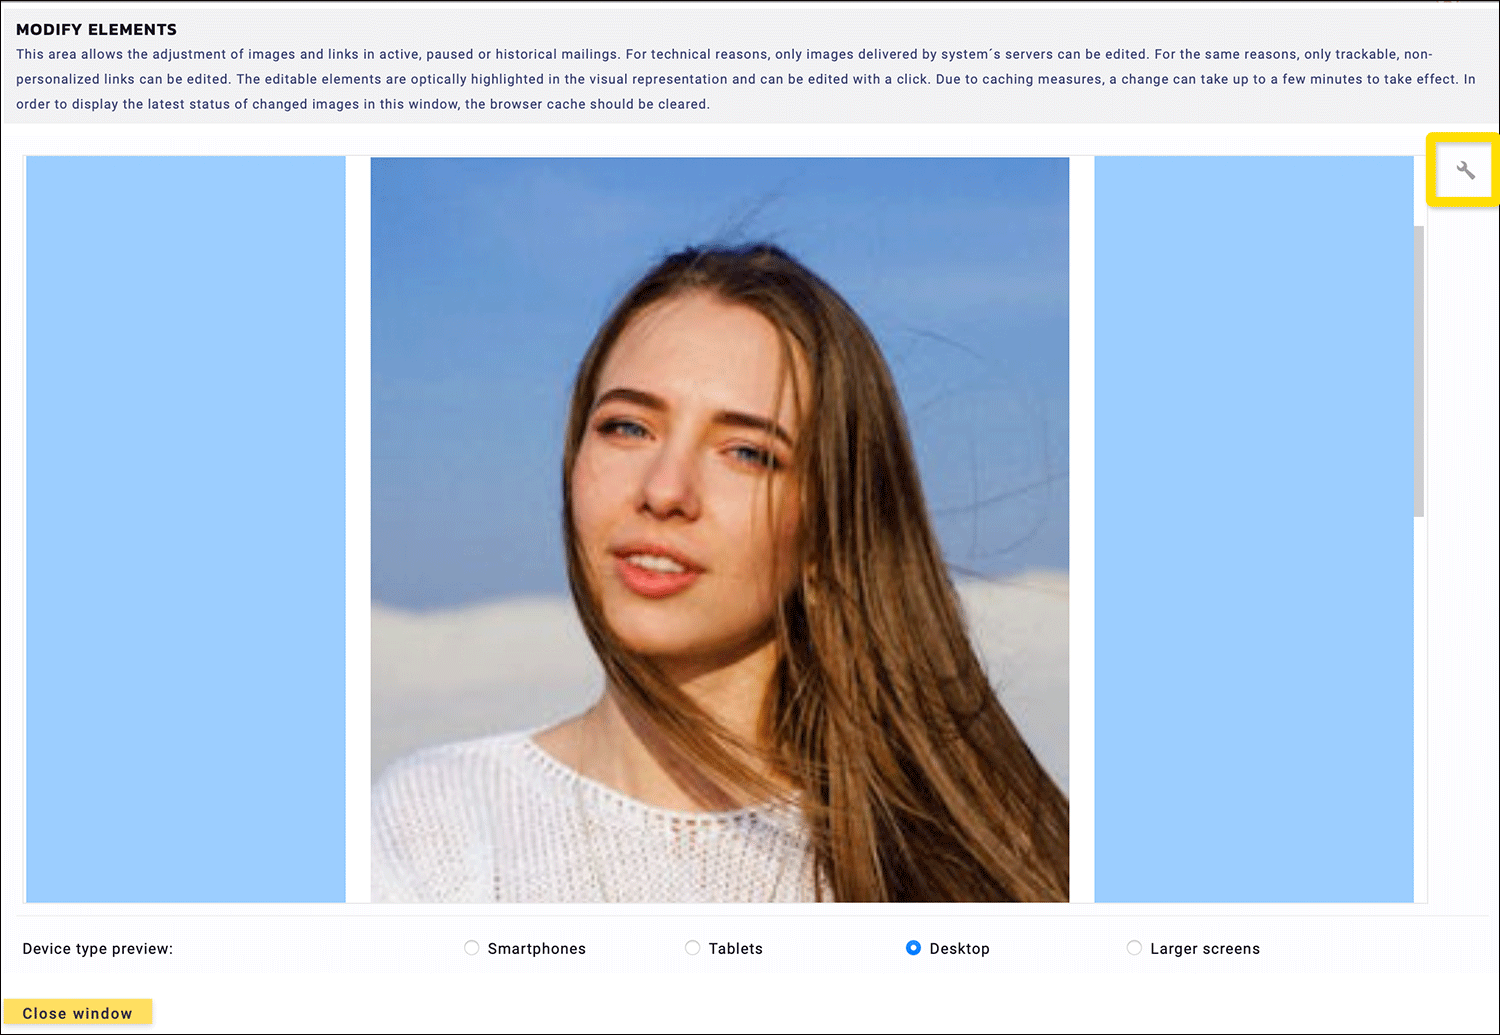 Fig. 15: Link modification via the wrench icon.
Now a pop-up opens, where you have the possibility to adjust the URLs of a sent or an active emailing. The links shown in the example below are for illustrative purposes only (fig. 16).
 Fig. 16: Adjusting or editing the active trigger mailing.
5. How can I adjust the placeholder of an emailing?
In the Account Placeholder area (fig. 17), you can include multiple placeholders in the mailing content (e.g., logo, image, phone number, etc.).
 Fig. 17: Add multiple placeholders in the Account Placeholder section.
Note: Changes to the content will affect existing integrations.
To adjust an Account Placeholder, select the appropriate option in the Settings:
Settings > Contents & Favorites > Account Placeholder
Click add new account placeholder (fig. 18).
 Fig. 18: Adding a new placeholder in Settings.
Create or edit the account placeholder and click Save account placeholders (fig. 19).
 Fig. 19: Saving the account placeholder settings.
The change can be tracked immediately in Mailings.
To modify an existing Account Placeholder, click its Name (fig. 20).
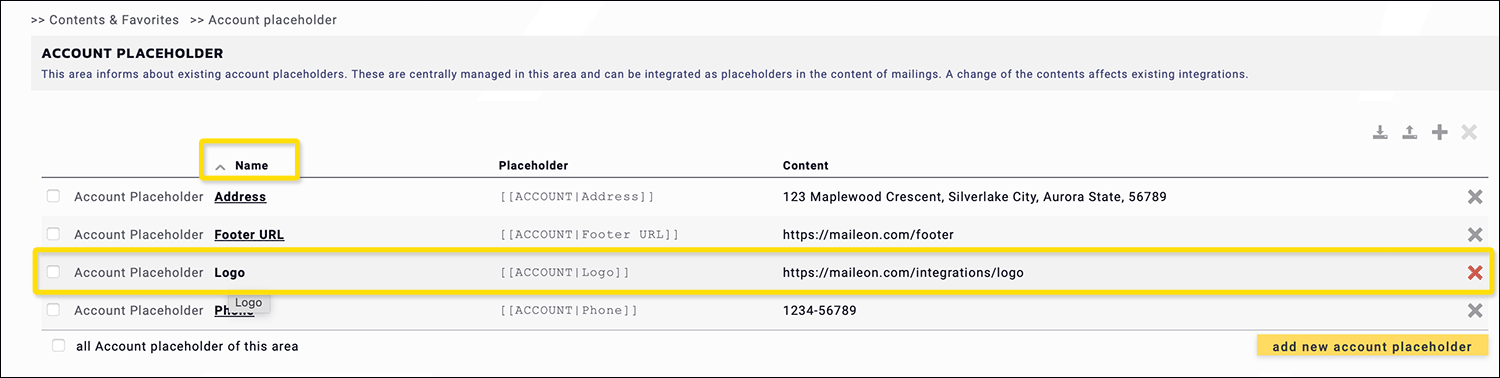 Fig. 20: Editing of an existing placeholder.
Modify the data with a single click in the pop-up, as shown in the example above (fig. 21).
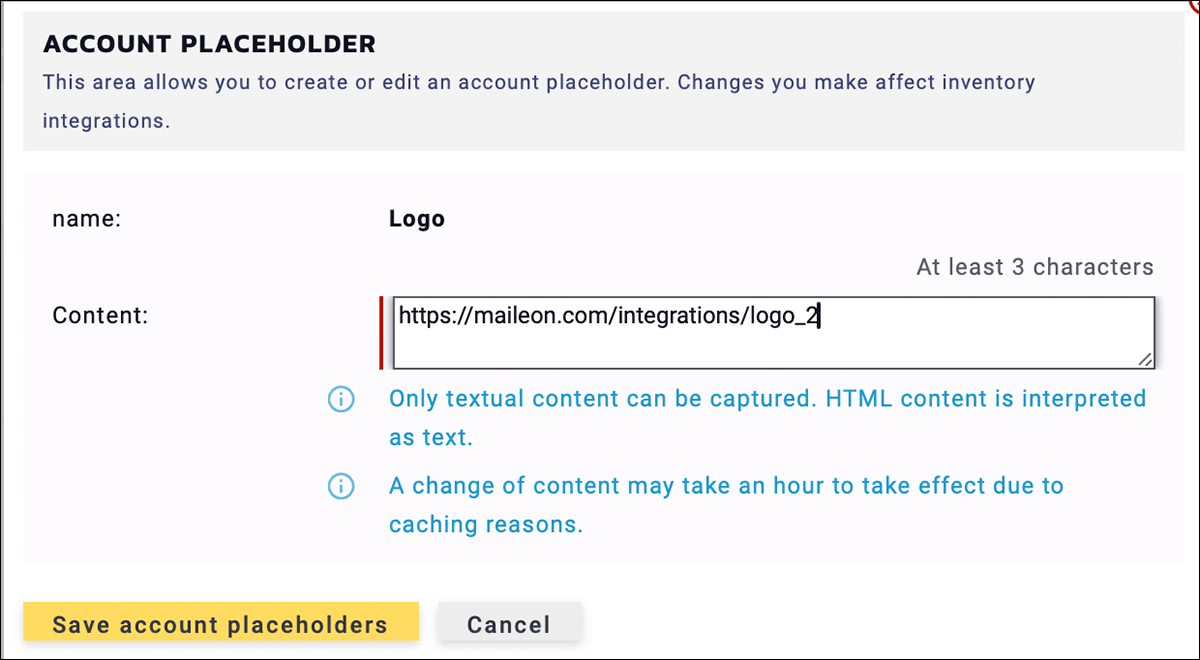 Fig. 21: Data update in the pop-up.
The change can be tracked immediately in Mailings.
6. How to send out automated Mailings via API (Trigger-Mailings + Transactions)
Please refer to our API documentation: